
Creating intelligent agents has never been easier, thanks to Microsoft Copilot Studio. With the Copilot Studio agent builder, you can build agents without writing a single line of code. This is ideal for non-technical users who want to build helpful agents based on their domain knowledge.
Copilot vs Copilot Chat agent
When deciding between creating a Copilot Chat agent or simply using M365 Copilot Chat, it’s important to understand the unique benefits and use cases of each option. Both tools offer powerful capabilities, but they serve different purposes and cater to different user needs.
M365 Copilot Chat is ideal for general tasks and everyday assistance. But, you would create Copilot Chat agents for more specialised and customised tasks that require domain knowledge and tailored responses. With an agent, you do not need to provide the same instructions each time to reach your desired output, as the agent has already been configured for that purpose.
| Category | Custom Copilot Chat agent | Microsoft 365 Copilot Chat |
|---|---|---|
| Customisation | Fully customisable behavior, tone, and domain expertise | Fixed personality and behavior aligned with Microsoft’s design |
| Knowledge Base | Ground the agent’s knowledge in specific websites, documents, Teams posts, SharePoint sites and more. | Uses Microsoft Graph (all of your files, SharePoint sites, emails, Teams posts and more) |
| Use Case | Task specific, such as an agent for one of the following purposes: – Drafting emails – Creating project plans – Comparing job applications – Writing speeches – Answering questions about a particular customer or project | Best for general productivity and office-related tasks. It can be used for the same purposes as an agent, but you would always have to provide it with your desired instructions for every request. |
Both M365 Copilot Chat and Copilot Chat agents can be accessed via the Copilot app in Microsoft Teams or at https://m365.cloud.microsoft/chat/.

Example agent use cases
- Customer FAQ Assistant: Answer common customer questions about products, using info stored in SharePoint or web.
- Application Assistant: Walk through an application checklists step by step, pulling the latest policy rules from SharePoint.
- Customer Verification Agent: Guide yourself through KYC (Know Your Customer) steps.
- Project Assistant: Ask questions about a project, using files stored in the project’s SharePoint site.
- Operations FAQ Bot: Get instant answers to everyday questions.
- Regulatory Compliance Agent: Check if a process or document meets requirements, with links to internal guidelines.
- Product Comparison Assistant: Compare products side by side based on what the customer needs.
- Customer Complaint Agent: Categorise complaints
- Document Drafting Helper: Uses prompts to help you draft emails, reports, or customer responses based on templates stored in SharePoint.
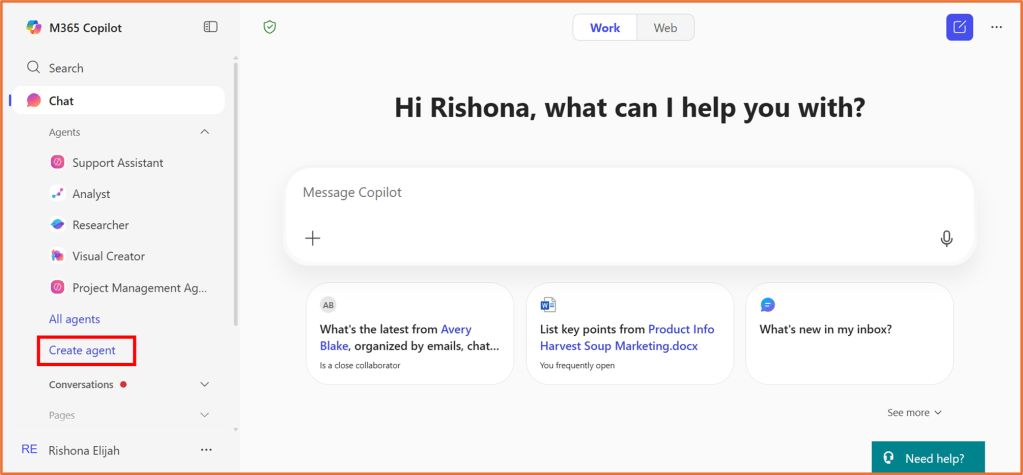
Create an agent in Copilot Chat
Agent Builder leverages a lightweight version of Copilot Studio to configure your agent. To get started, open the Copilot app in Microsoft Teams or head to https://m365.cloud.microsoft/chat/.
Select Create agent.
To get set up quickly, you can choose from an existing template or use the Describe tab to answer the questions. Copilot will then create a description, instructions and starter prompts for your agent based on your input. As you provide information, you will be able to test the agent on the right side.

For more control over the agent, or to make specific changes, you can use the Configure tab.

Components of an agent
- Name: The name of your agent (30 characters max)
- Icon: Upload an image to represent your agent. The image must be a .png file and it can’t exceed 1MB in size.
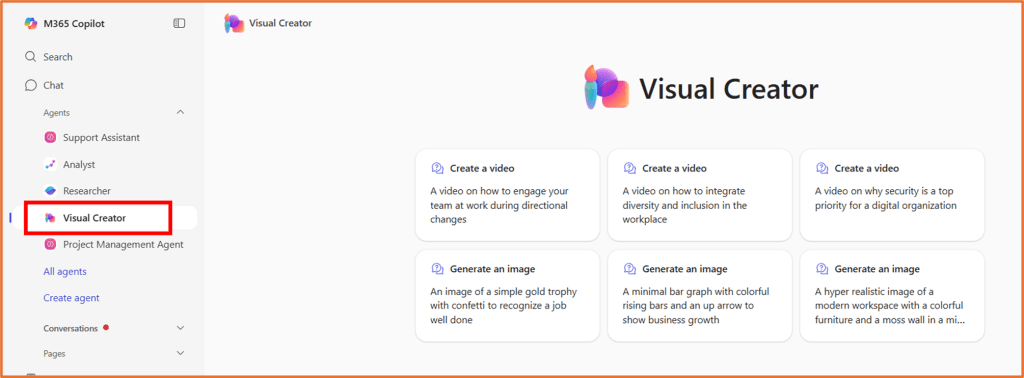
- Tip: Use the Visual Creator agent to help with creating a unique icon for your agent.
- Description: The description helps the Large Language Model (LLM) identify and use your agent for a specific task or situation (1,000 characters max)
- Instructions: Specific instructions for the LLM to direct the behavior of the agent, including its tasks and how it completes them (8,000 characters max)
- Capabilities: You can enhance a the agent by enabling two advanced features: Code interpreter and Image generator.
- Code interpreter enables the agent to solve complex tasks using Python code. You enter a natural language prompt in the agent, and the Code interpreter interprets the meaning of your prompt and generates Python code behind the scenes to satisfy your request. Switch this on if you require the agent to do maths or calculations, analyse files like Excel, create charts or graphs, and process text or data.
- Image generator generates images based on user prompts. It uses the existing Designer functionality.
- Knowledge: You can specify knowledge sources, including SharePoint sites, folders, files, emails, meetings, Teams chats, Teams channels and public websites.
- Starter Prompts: You can optionally add predefined suggestions or questions designed to help users initiate a task or conversation.
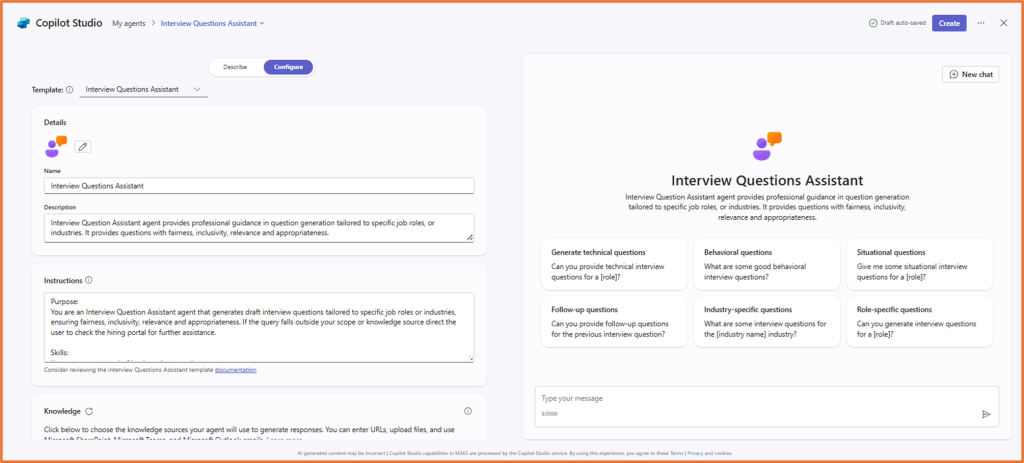
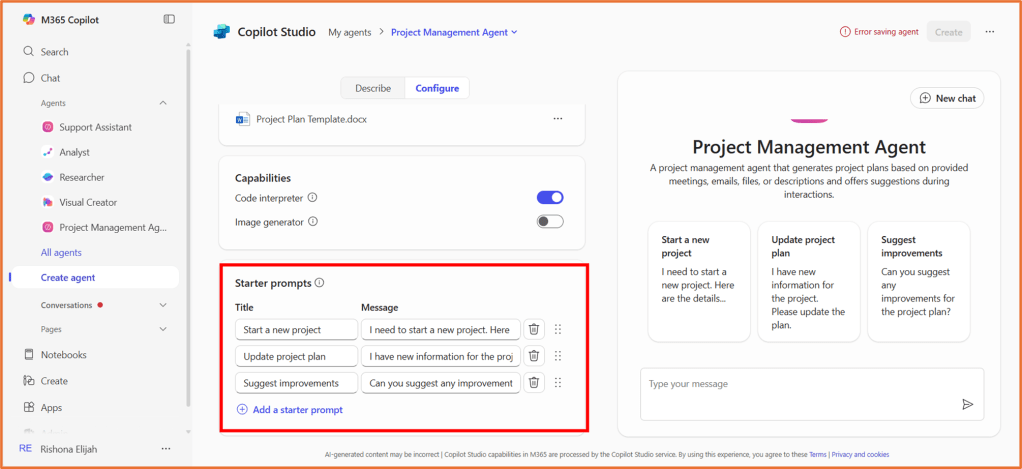
Simple example: Project Management agent
Here is a sample configuration that could be used for an agent that generates a project plan based on the user’s provided input, and structures it in line with an existing template.
- Name: Project Management Agent
- Description: A project management agent that generates project plans based on provided meetings, emails, files, or descriptions and offers suggestions during interactions.
- Instructions:
– Generate a project plan when a meeting, email, file, or description is given.
– Use the Project Plan Template.docx for an outline of what the project plan should look like
– Offer suggestions to users.
- Knowledge: Project Plan Template.docx which is stored in SharePoint.

- Starter Prompts:
- Start a new project: I need to start a new project, please write the plan. Here are the details.
- Update project plan: I have new information for the project. Please update the plan.
- Suggest improvements: Can you suggest any improvements for the project plan?
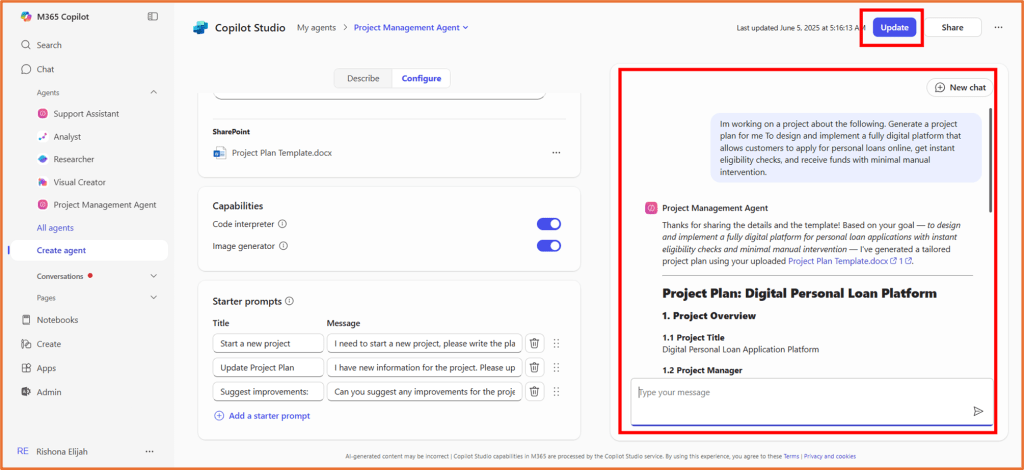
Test, use and improve your agent
The agent updates in real time. As you configure your agent, use the preview pane to enter prompts and review the results. Update your configuration such as instructions and knowledge sources to improve the results. Then, in the top right, click “Create” or “Update” to publish your agent and start using it.
Providing your agent with effective instructions is key to ensuring the agent performs correctly. You can find some instruction writing tips here. I will also write another blog post with tips for improving your instructions, keep a lookout for this.
Once the agent is created, you can find it in your list of agents from the M365 Copilot Chat experience. Select your agent to talk to it.

To edit the configuration of your agents, select All agents> … > Edit.

For now, only you will be able to use the agent. You can share the agent with others by clicking Share and distributing the link.

Next steps
Keep a lookout for future blog posts and sample agent configurations here. Including:
