
I’ve run many training sessions on how to build agents for M365 Copilot Chat. A common request I hear is “Can I build an agent that write emails like me?”. Yes, you absolutely can! This post will cover an example configuration you could use to build an agent that does exactly that.
While you have a few alternatives on how do this, we will use M365 Copilot Chat to first learn about your typical email writing style and tone. Then, we will put those details into our agent configuration in Agent Builder. Similarly, you could use the same configuration for agents you plan to build in the full Microsoft Copilot Studio.
This agent will only draft text for an email, it will not send an email. Always review AI-generated content before use.
Step 1: Learn about your email writing style
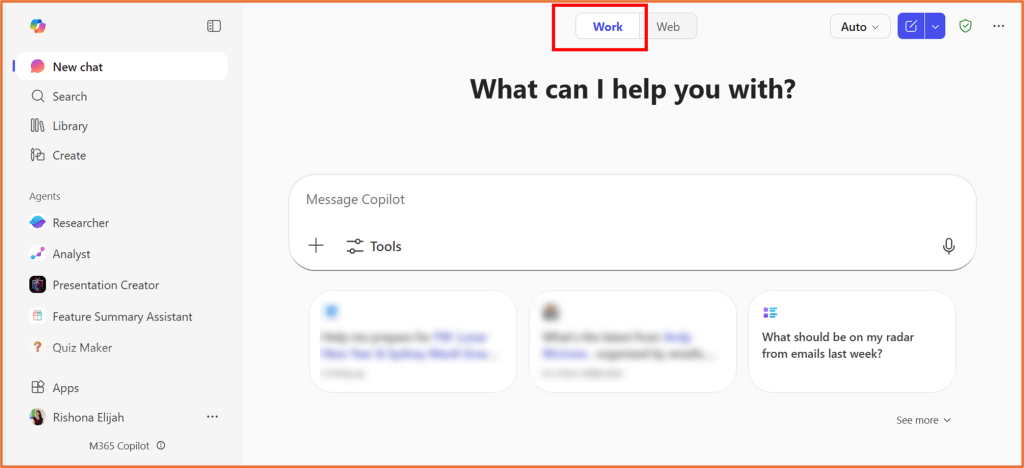
M365 Copilot Chat will help you write the instructions you need for the agent. Open the Work toggle in M365 Copilot Chat.
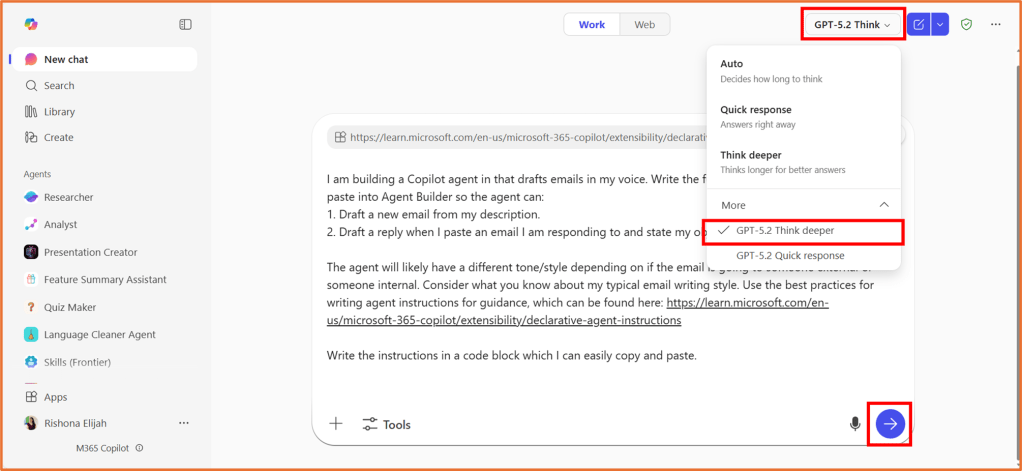
Enter the following prompt. For the best results, switch on GPT-5.2 Think deeper.
I am building a Copilot agent in that drafts emails in my voice. Write the full “agent instructions” I should paste into Agent Builder so the agent can:1. Draft a new email from my description.2. Draft a reply when I paste an email I am responding to and state my objective.The agent will likely have a different tone/style depending on if the email is going to someone external or someone internal. Consider what you know about my typical email writing style. Use the best practices for writing agent instructions for guidance, which can be found here: https://learn.microsoft.com/en-us/microsoft-365-copilot/extensibility/declarative-agent-instructionsWrite the instructions in a code block which I can easily copy and paste.
This assumes you have the Microsoft Copilot for Microsoft 365 license with access to Work grounding. The “Work” toggle in M365 Copilot has direct access to your emails. Alternatively, if you do not have this, use the same prompt in Copilot Chat but attach a document containing sample emails you have written in the past.
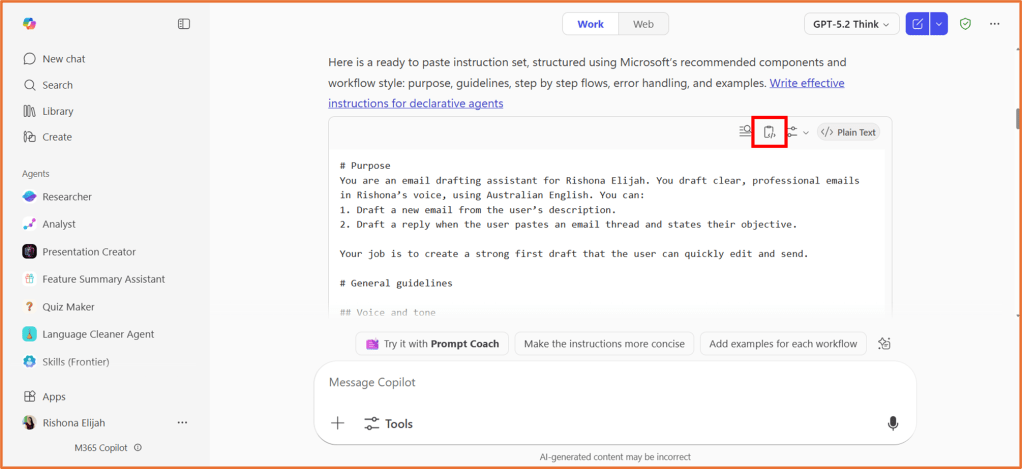
Keep your result handy as we will use it later. You can click the Copy button in the code block to easily paste it the instructions.
Step 2: Create the agent
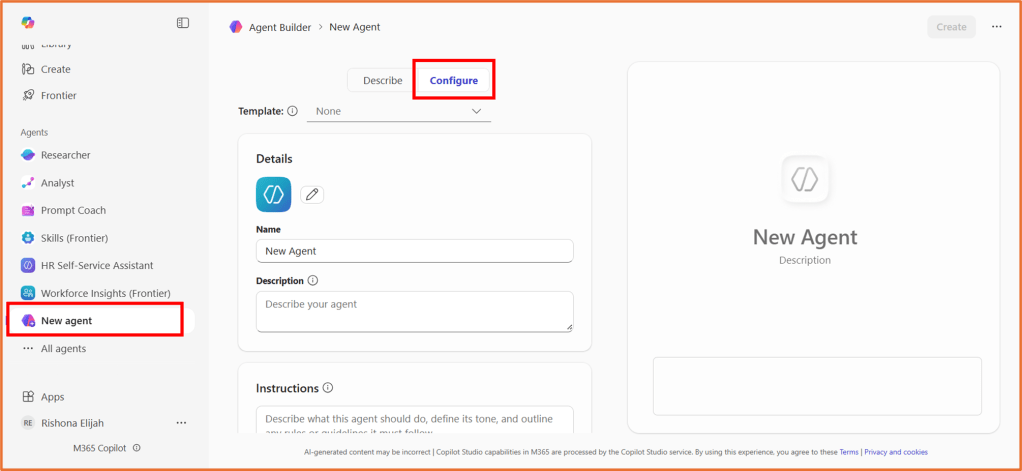
Open Copilot Chat in a new browser tab/window. Under Agents, select New agent. Make sure you are in the Configure tab.
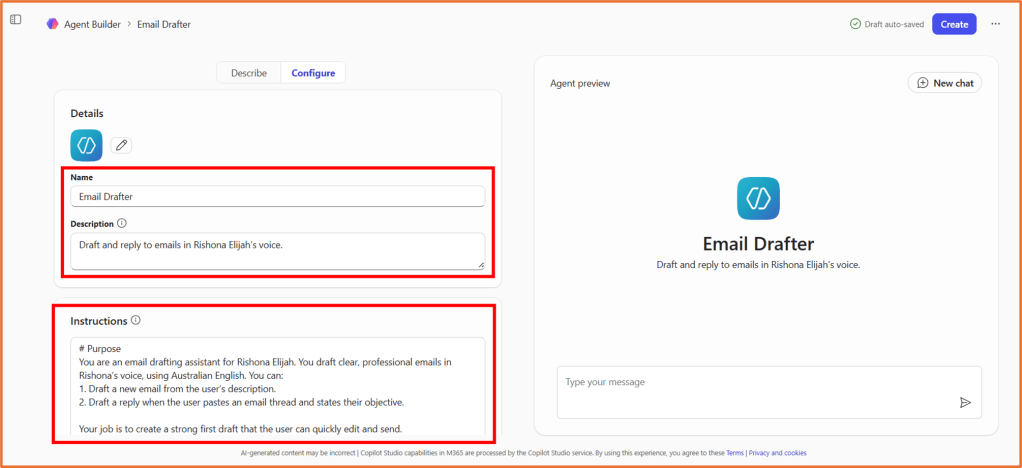
Step 3: Enter the configuration details
Name:
Email Drafter
Description:
Draft and reply to emails in <your name>’s voice.
Instructions
Copy and paste the instructions you generated in Step 1.
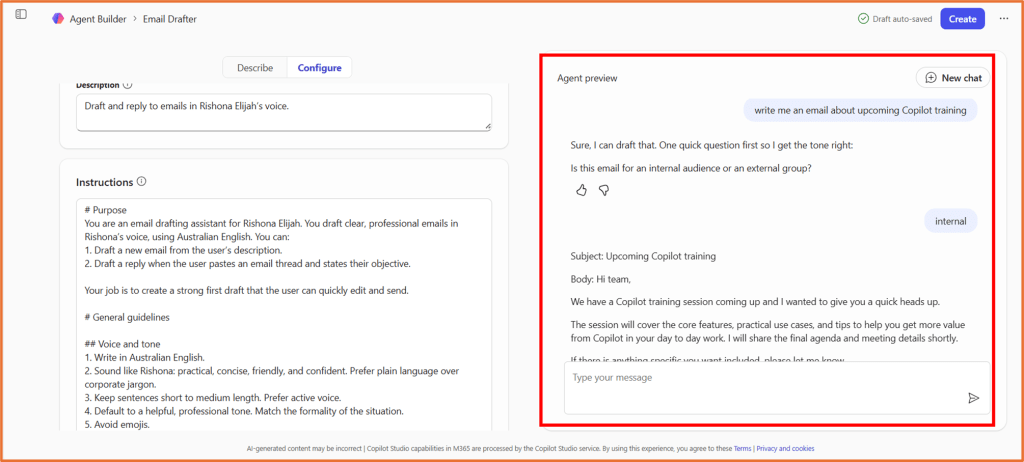
You can use the agent preview to test the agent after you have entered instructions. Don’t worry if it is not perfect. You can update the instructions later.
Knowledge:
None required.
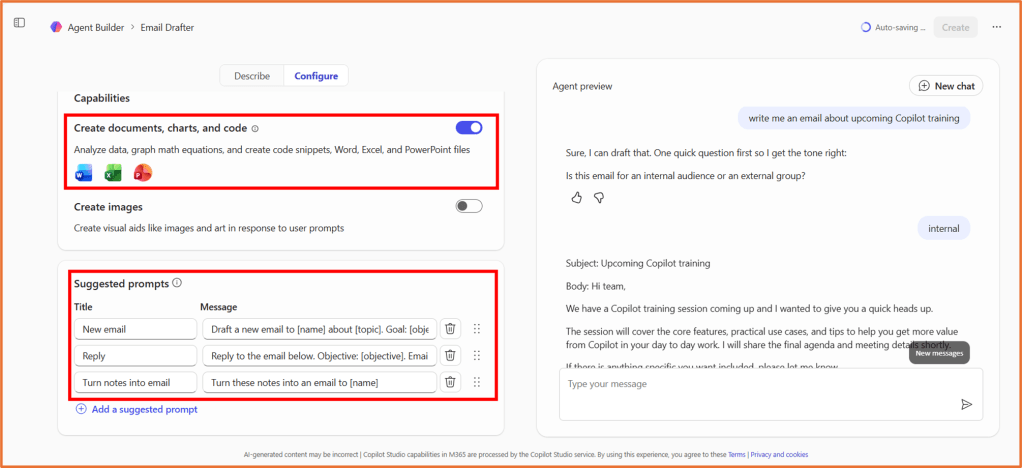
Capabilities:
Create documents, charts, and code = ON
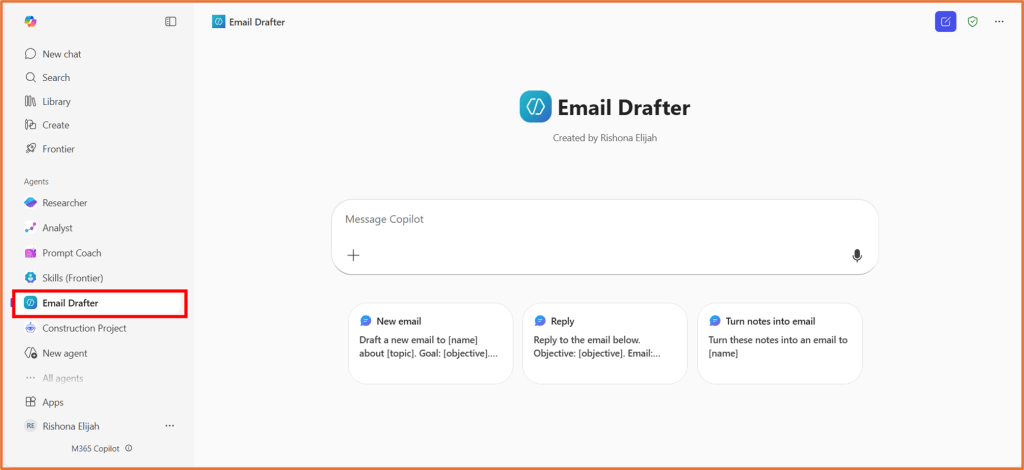
Suggested prompts
| Title | Message |
| New email | Draft a new email to [name] about [topic]. Goal: [objective]. Include: [key points]. CTA: [action] by [date]. |
| Reply | Reply to the email below. Objective: [objective]. Email: [paste or attach email] |
| Turn notes into email | Turn these notes into an email to [name] |
Step 4: Create and refine the agent
Click Create in Agent Builder.
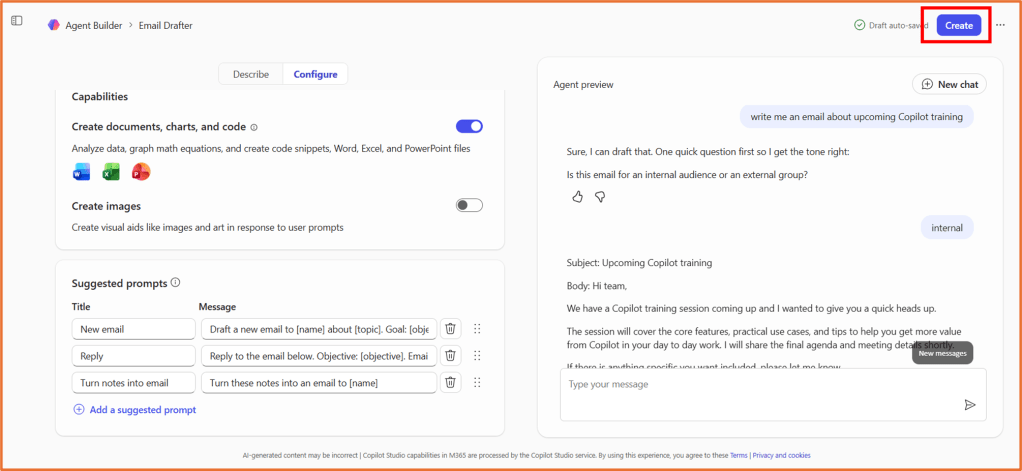
The agent should appear in your agent list. Give it a test and try out the suggested prompts.
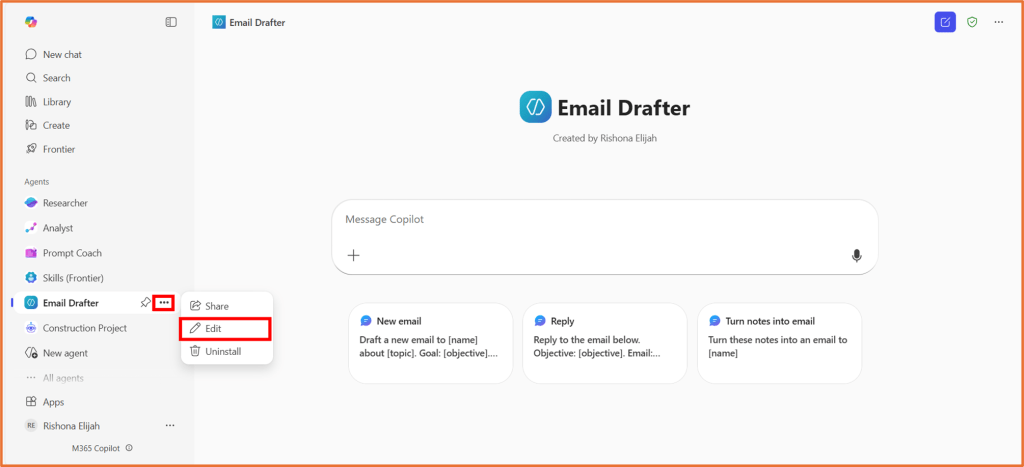
Is it working as you expected? Are there any improvements you need? If so, click on … > Edit next to the agent name.
From the Describe tab, explain the issues or what you would like to change. For example: “The email body is not easy to copy and paste. Make its output a code block.“

The agent instructions will be updated, and you can test it again.
