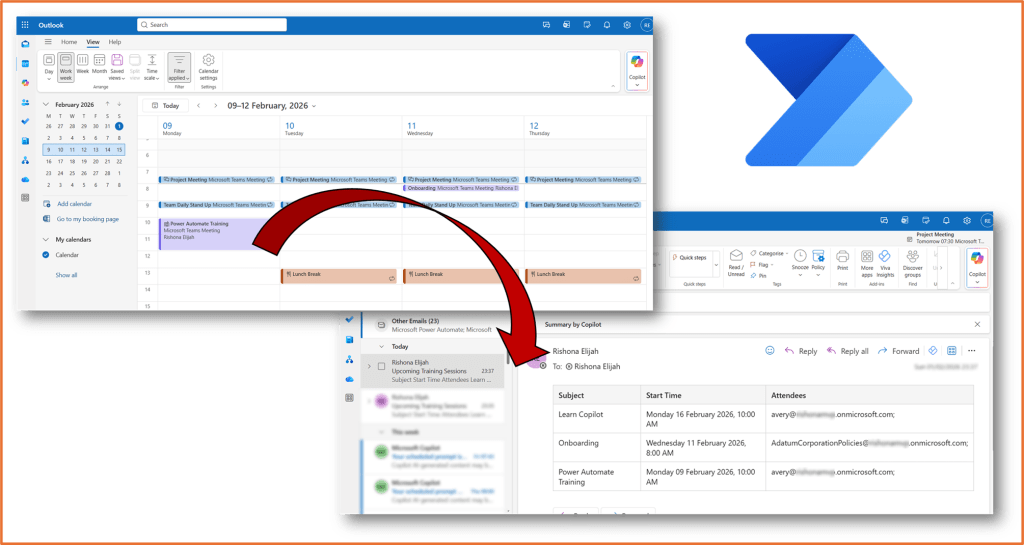
Manually pulling a list of specific upcoming meetings from your calendar is one of those small admin tasks that can quietly add up: filtering by category, checking dates, then copying details into something shareable. This post walks through a Power Automate flow that does the work for you. I will show you how to build a flow that:
- On demand, looks at your calendar to view future events
- Filters events to a chosen category
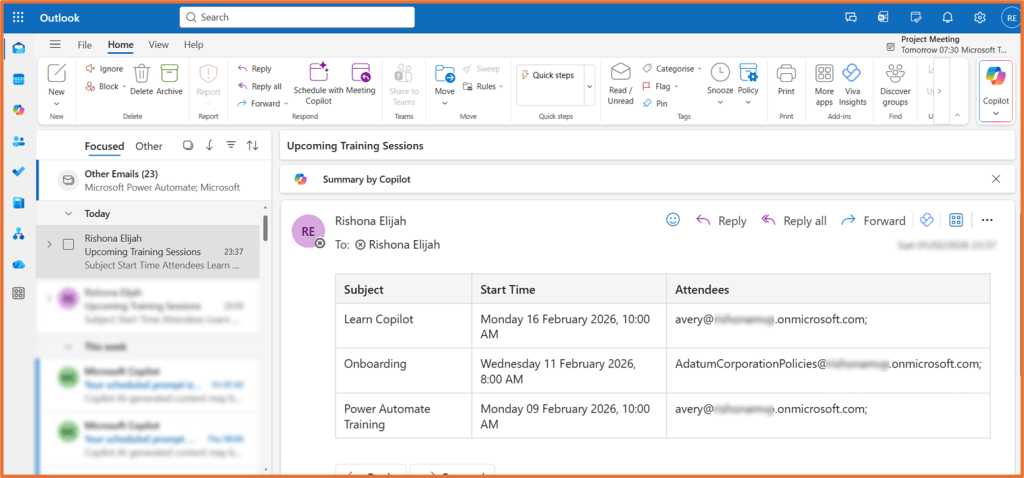
- Emails you a table of the upcoming events
Step 1: Trigger
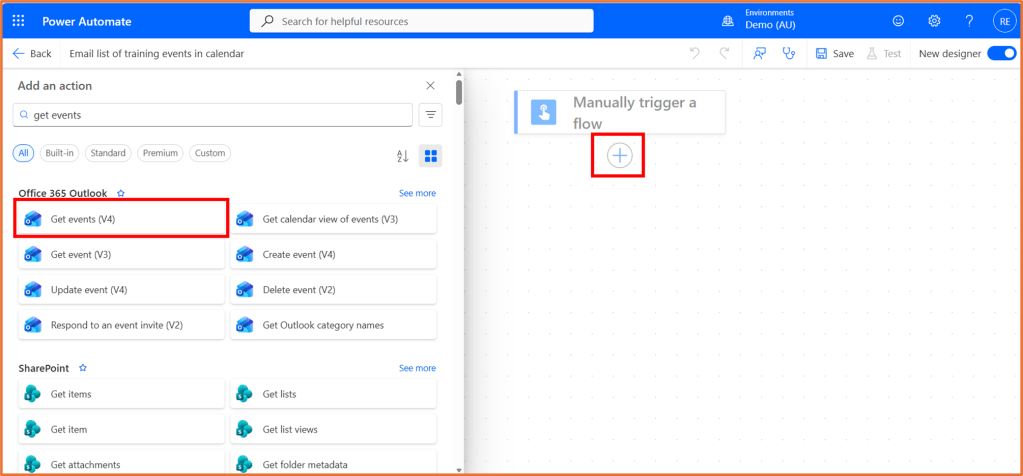
Launch Power Automate. Create a new Instant cloud flow using the trigger Manually trigger a flow.

Step 2: Get Events
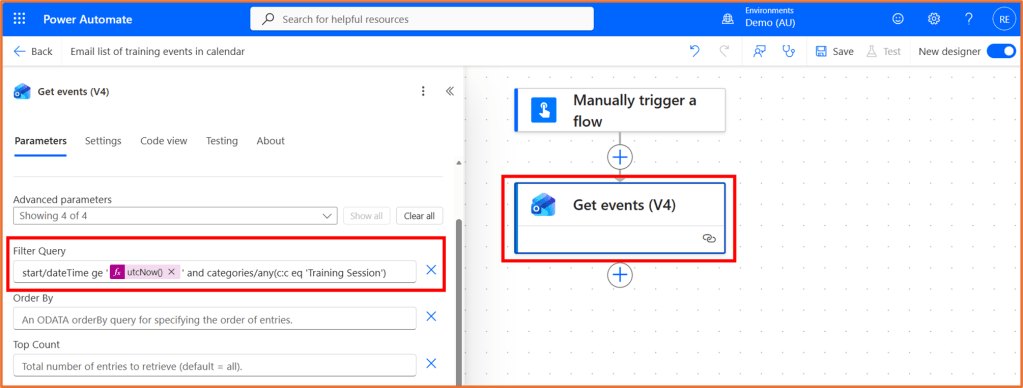
After the trigger, add the Office 365 Outlook action, Get Events (V4).
In Calendar id, select the calendar you want to retrieve events from. Calendar will be your personal calendar. Click Show all next to Advanced parameters.
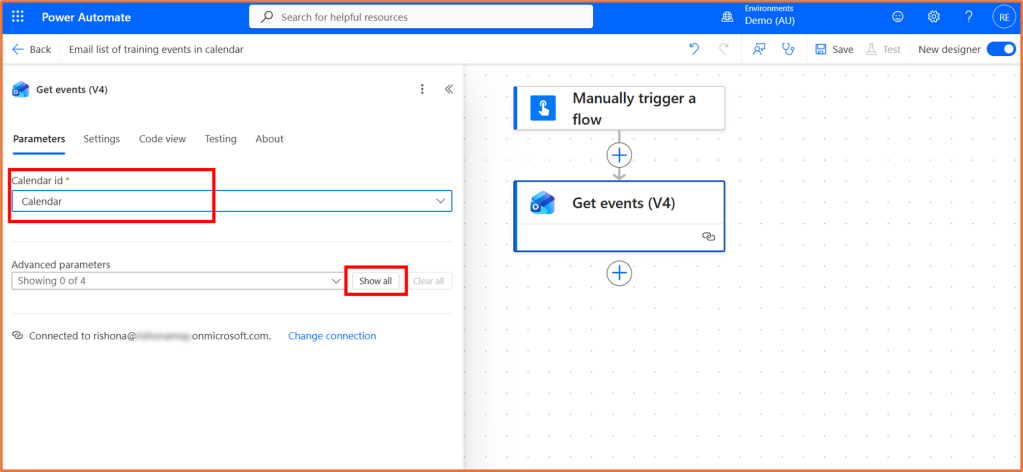
You need to apply a filter query so that only future events are obtained. You can extend the filter query to also filter by a category assigned to the event. For example, the filter query below looks for future events with the category Training Session.
start/dateTime ge '@{utcNow()}' and categories/any(c:c eq 'Training Session')
You can copy and paste the query above into the Filter Query field. utcNow() should appear as an expression in pink once you paste the query in. Replace the word Training Session in between the ‘ ‘ symbols with your own category name.
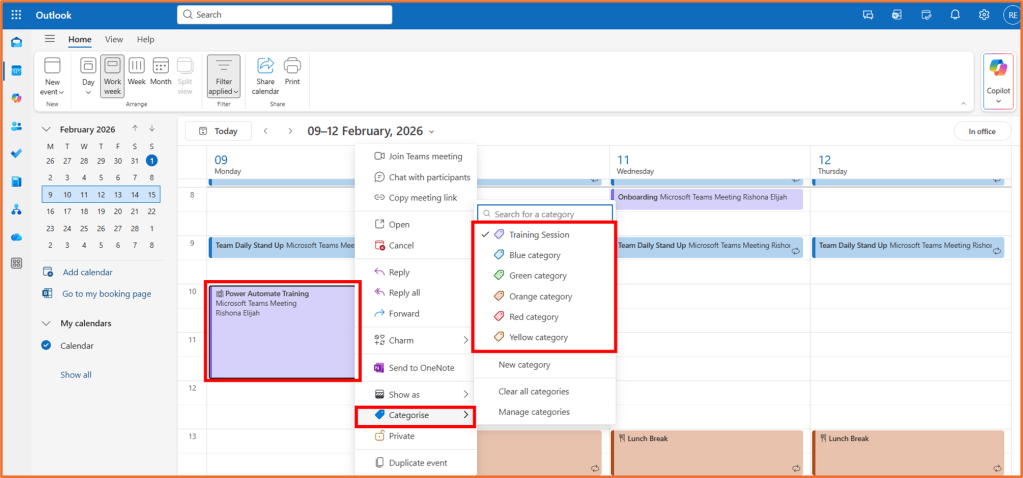
Category refers to the tag options you can assign to events to Outlook. The screenshot below shows an example of an event with the category named Training Session.
Step 3: Create HTML Table
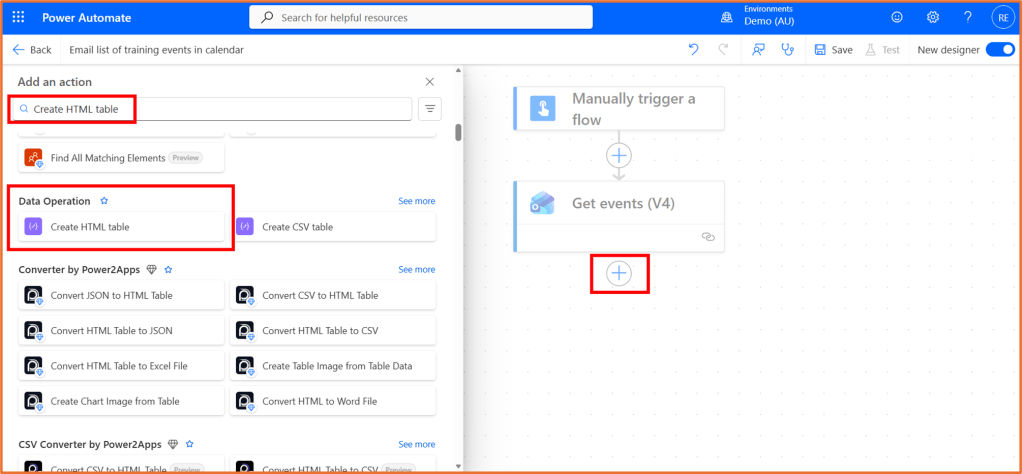
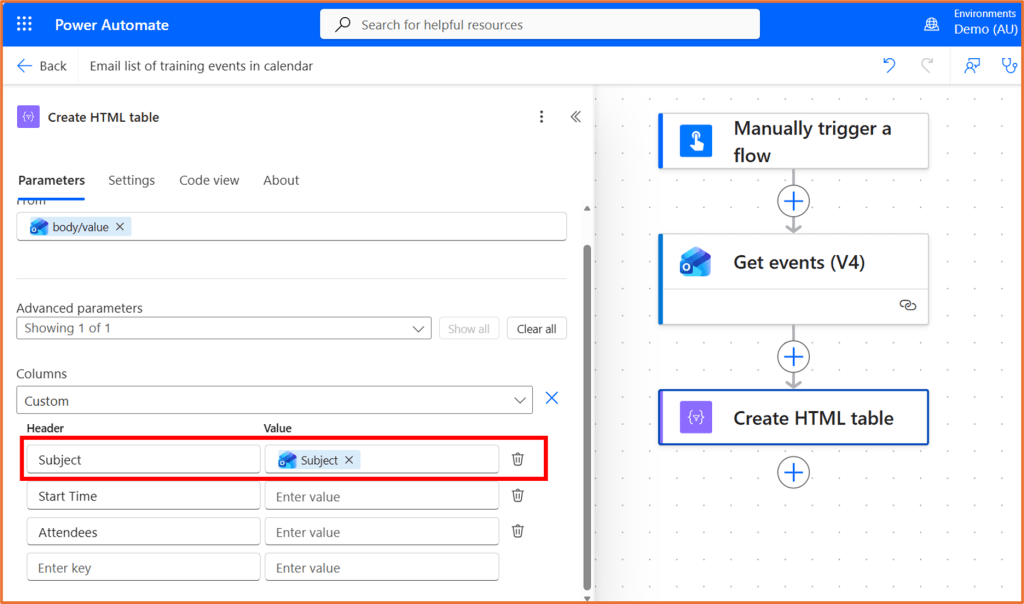
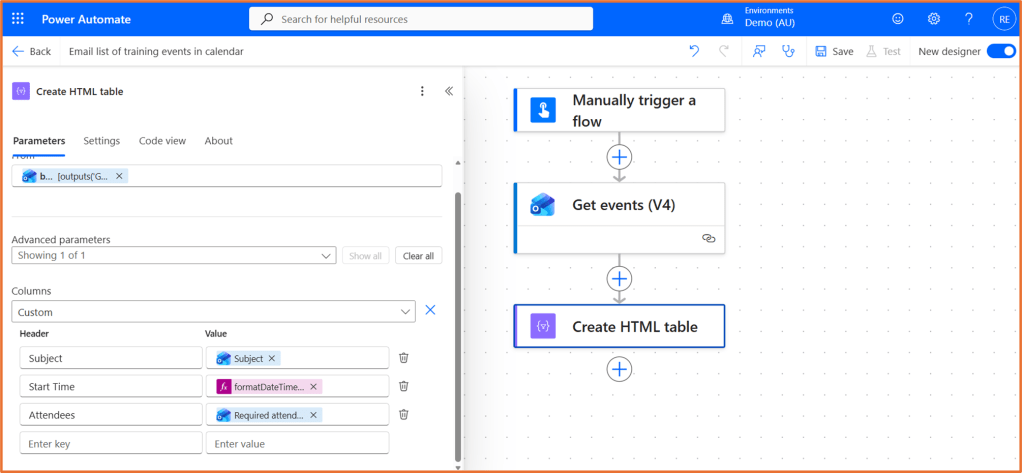
After the Get Events action, add the action called Create HTML Table from Data Operation.
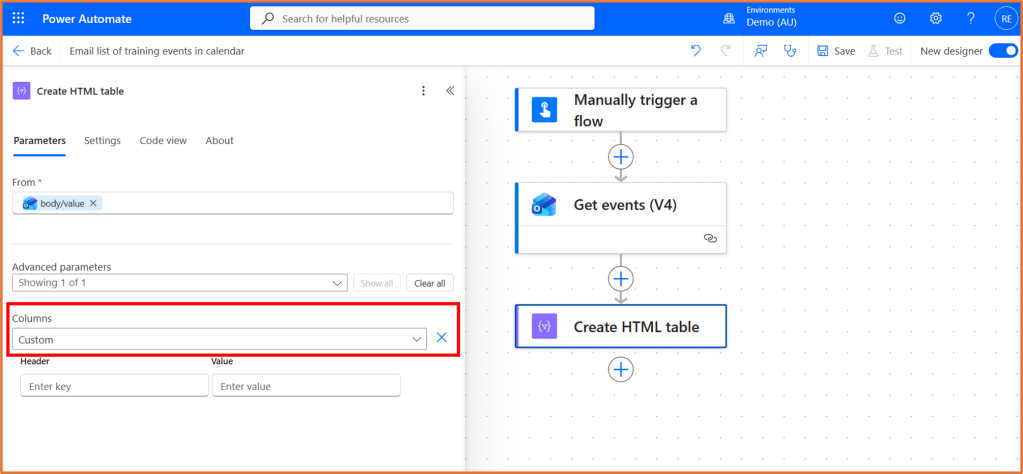
In the From field, add the dynamic content body/value from Get events (V4). Click on the lightning bolt symbol to display the dynamic content menu.

Click to Show all advanced parameters. Set Columns to Custom.
Enter the Column headings and matching values for your table. You will likely use dynamic content from the event for the value. The table I am building here will have the following headers and values:
| Header | Value |
| Subject | Dynamic Content: Subject |
| Start Time | Expression similar to: formatDateTime(convertTimeZone(item()?[‘start’], ‘UTC’, ‘AUS Eastern Standard Time’), ‘dddd dd MMMM yyyy, h:mm tt’) |
| Attendees | Dynamic Content: Required attendees |
Subject
Select the dynamic content Subject, the name of the event.
Start Time
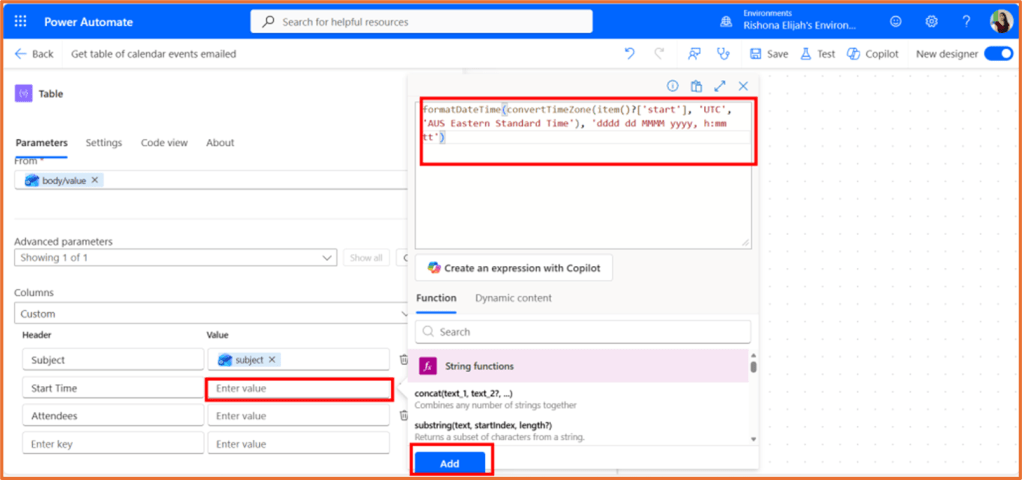
By default, the event start time will be in UTC, and not in a user-friendly format for reading. An expression can be used to convert the time so it displays in your preferred time zone and format. The expression below was used to display the time in the Australian Eastern Standard Time zone and in the format Monday 19 February 2026, 1:30 PM.
You can copy and use the expression I have shared, or use Copilot to help you create one.
To add an expression, click into the Value field for the start time. Click fx.
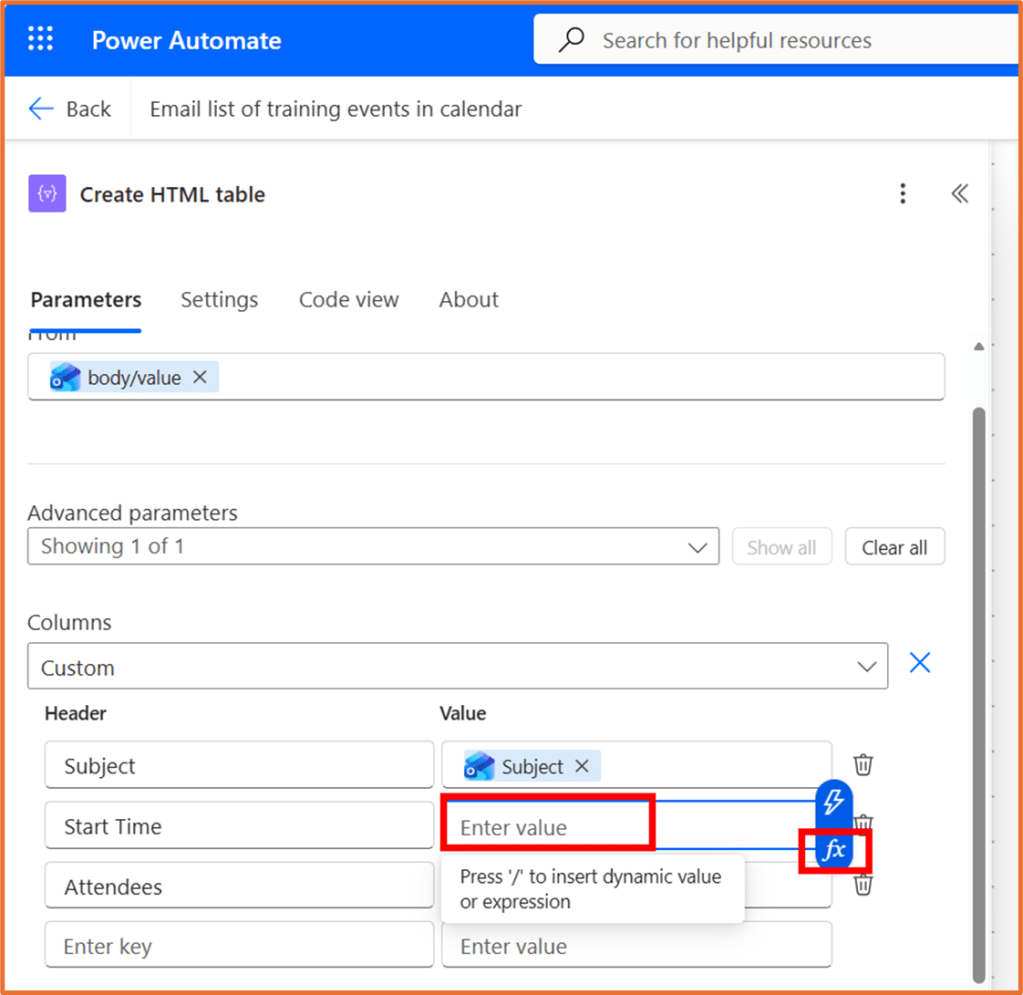
Paste in the formula below and adjust it to your time zone and desired format. Click Add.
formatDateTime(convertTimeZone(item()?['start'], 'UTC', 'AUS Eastern Standard Time'), 'dddd dd MMMM yyyy, h:mm tt')
You can try the tool Create an expression with Copilot if it is available. The expression I have provided to use was created using the prompt:
Take the start time from the event which is in UTC. Display it according to the time in Sydney, Australia. It should be in the format similar to “Monday 19 February 2026, 1:30 PM”
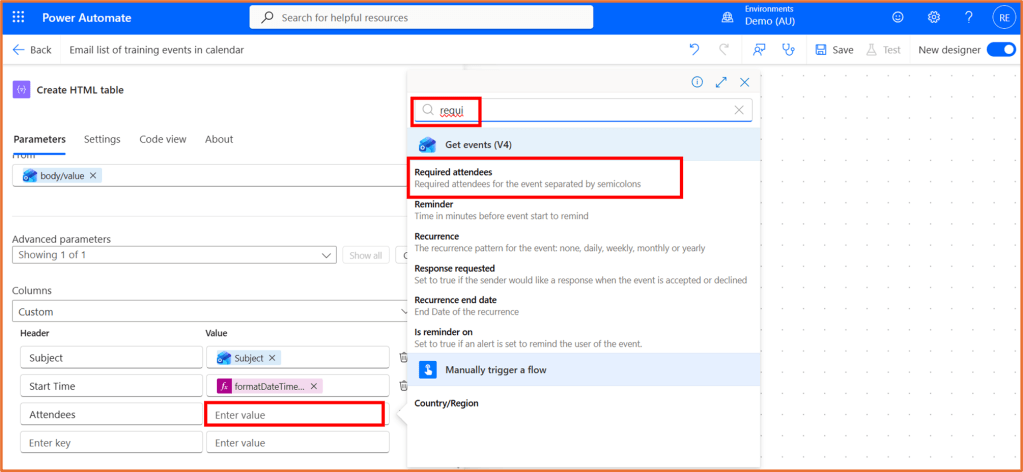
Attendees
Select the dynamic content Required attendees. You may need to search for it to appear in the dynamic content options.
Step 5: Send Email
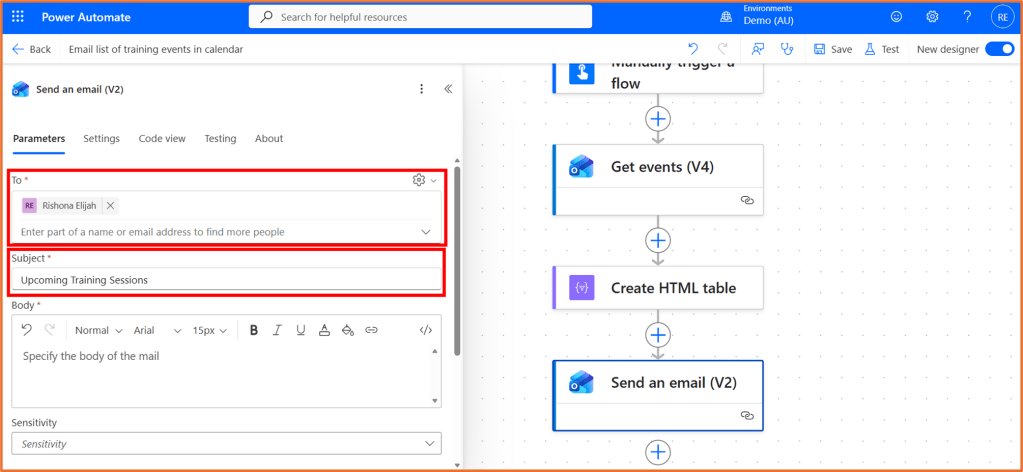
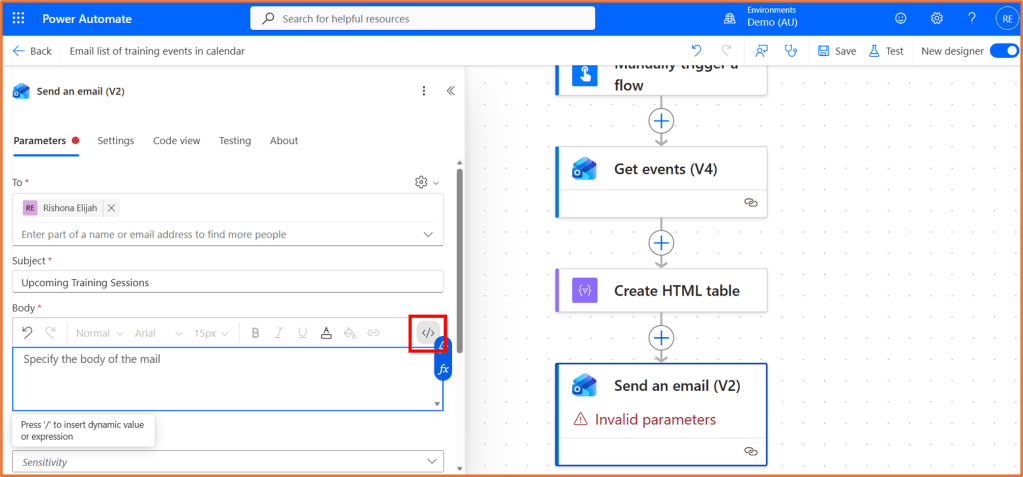
For your last step, add the Office 365 Outlook action Send an email (V2).

Enter your email address in the To field. Enter a Subject.
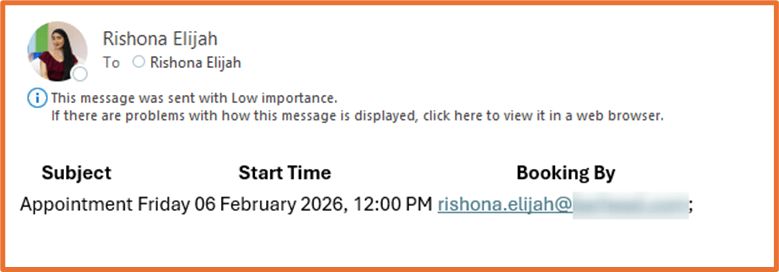
You need to select the output from the table step and insert it into your email body. However, the table on it’s own will appear like the screenshot below, which does not look very pretty!
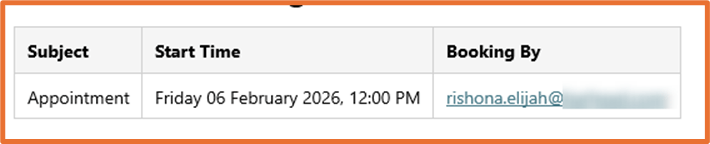
Instead, we will edit the code view of the email so that it appears like this instead:
In the email Body, select </> to toggle code view. Remove any existing code so that it is blank.
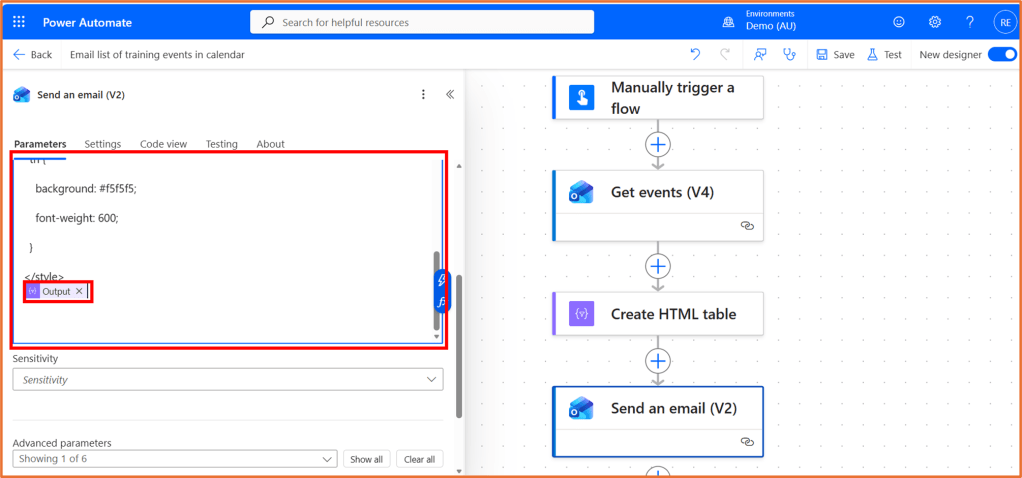
Paste the following code into the Body while code view is still toggled.
<style> table { border-collapse: collapse; font-family: Segoe UI, Arial, sans-serif; font-size: 14px; } th, td { border: 1px solid #d0d0d0; padding: 8px 10px; text-align: left; vertical-align: top; } th { background: #f5f5f5; font-weight: 600; }</style>
At the end of the code, insert the Output dynamic content from the Create HTML table action.
Step 6: Save and test the flow
Save your flow and test it manually. Check your email for the event details to arrive.