
Against a message in Microsoft Teams, you have the option to perform actions. With Power Automate, you can build a flow to create your own custom action to appear in your list. This works for both messages posted in a channel and those in a chat.
You can find these actions as you click on … next to the message and More actions.
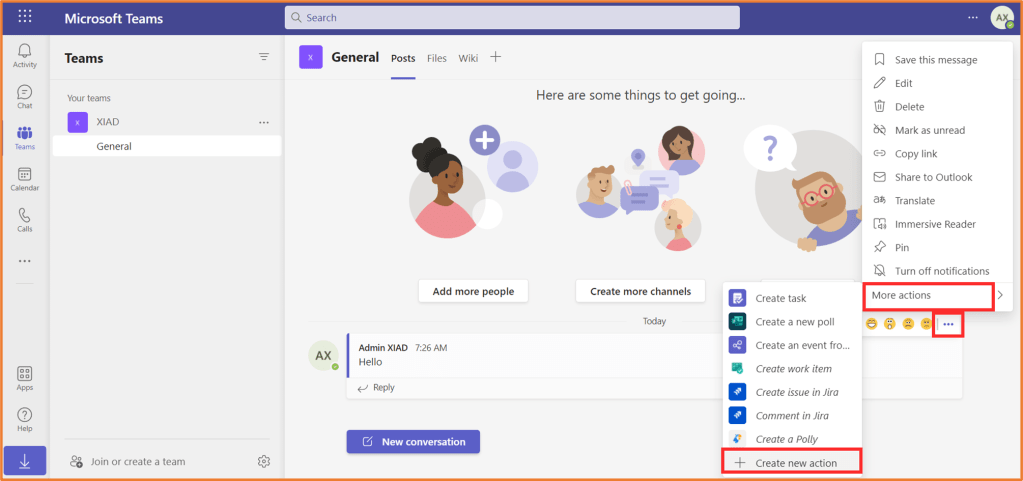
By default, you’ll see actions such as create a task, create a new poll in MS Forms, and create issue in Jira. If you click +Create new action, you can add in a range of different actions that have already been configured for you in Power Automate. You can modify any of these existing actions too. For example, if you wanted to add or modify the steps that occur in the Follow up on a message action, you can click on the template and choose to open the advanced editor, which will take you to the full flow build in Power Automate. To build your own action from scratch, select +Create new.

All of these actions begin with the Teams trigger For a selected message. Set this as the trigger action in your flow. Also rename your flow. The flow name will be the name of the action as seen in Teams.

You can use the WYSIWYG Adaptive Card designer in the trigger action to design your own adaptive card and capture the inputs you need from the user for the flow to run. There is already a template Adaptive Card created here, with three inputs (name, email, phone number). Here, I’ve just added an input to capture notes. The Id of the input is what will appear as dynamic content to use throughout the flow.

Save the card after you change it, then continue building your flow. The flow shown in the screenshot below will just send a Teams message via the Flow Bot to the user, with the notes added from the Adaptive Card and the contents of the original Teams message.

Once you finish building your flow, save it and return to Teams. You’ll now have your custom action available to use across all messages posted in Teams.

