
The Word Online (Business) connector for Power Automate allows you to generate documents. Beginning with a Microsoft Word template, you can use the connector in a flow to take inputs, populate them in a template, and save the document. Here, we’ll take a look at how you can use a conversation with a bot to collect these inputs, create the document, then return a link to the file back to the user.

1. Create a Microsoft Word template
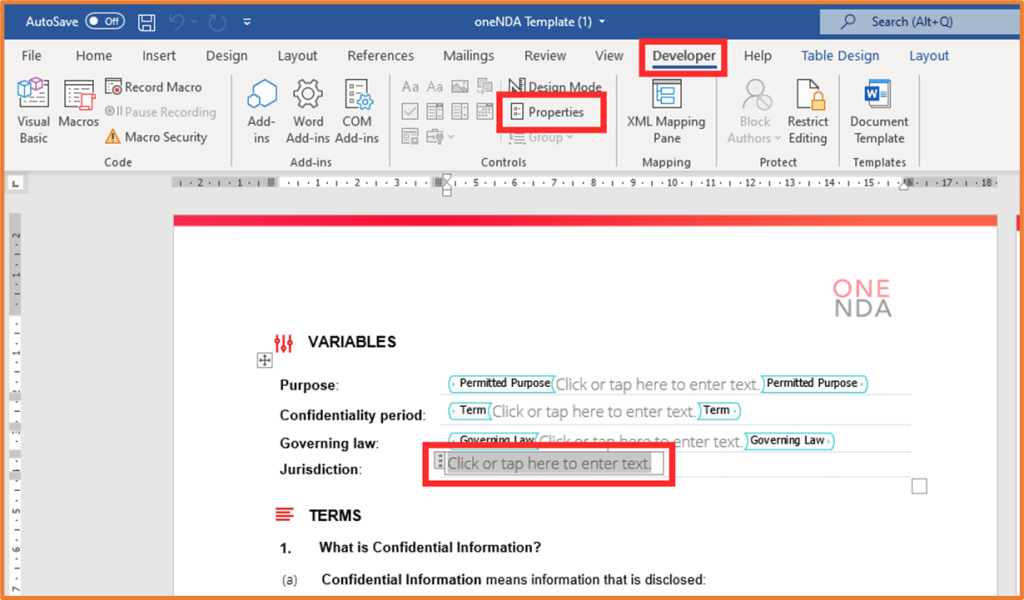
You will first need to create a template in Microsoft Word for the document you want to generate. In my example, I am using an NDA template. Throughout the document, I have used the Developer tab in Microsoft Word to insert controls. These correspond to the places I want my inputs from Power Virtual Agents populated.

For example, if I wanted to populate the Jurisdiction field in my NDA, I would place my cursor in the location of the document, then click on the plain text control from the Developer tab.

Then, click on Properties.
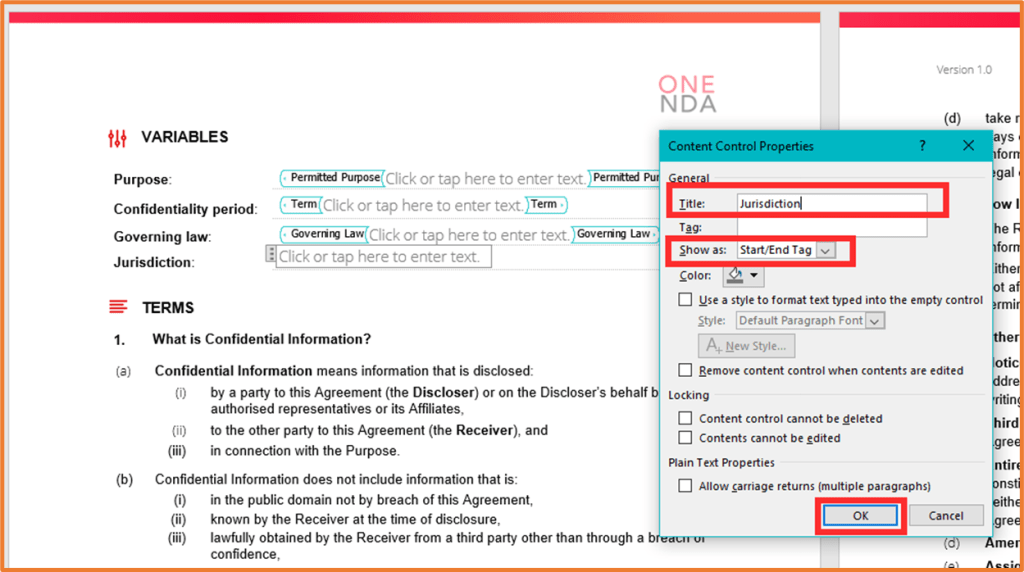
You can enter in a Title for the control so that it is easy to identify, as well as set the Show as to Start/End Tag.

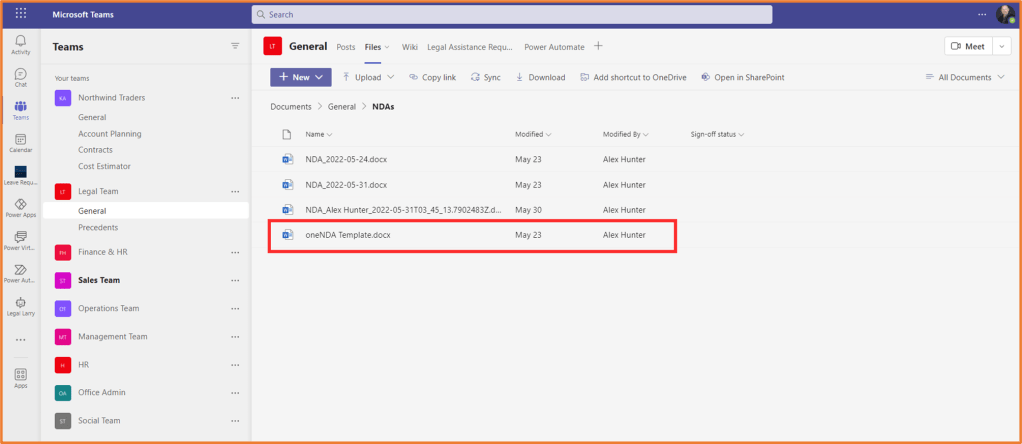
Your template will need to be stored in an online location in order to use it with PVA. This could be OneDrive or SharePoint. This this example, it will be stored in Microsoft Teams (SharePoint).
2. Create your topic in Power Virtual Agents
You can create the topic in PVA for generating the document. Here, I’ve built a topic in a Teams bot called Draft NDA. My topic asks the user a set of questions, each corresponding to a control on the Word template that needs to be populated.
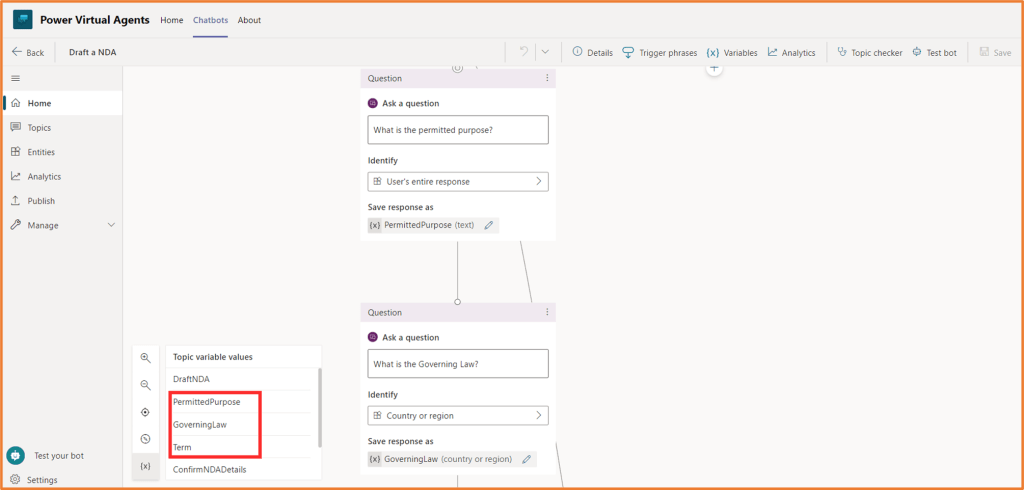
My ones are: What is the permitted purpose? (PermittedPurpose), What is the Governing Law? (GoverningLaw), What is the Term? (Term).
Remember to save your topic. Then once you have asked the questions you need, you can select Call an action > Create a flow.

3. Build flow to generate the document
This is what the end result of the flow looks like. If you stored your file in OneDrive, you would use the OneDrive connector rather than SharePoint.

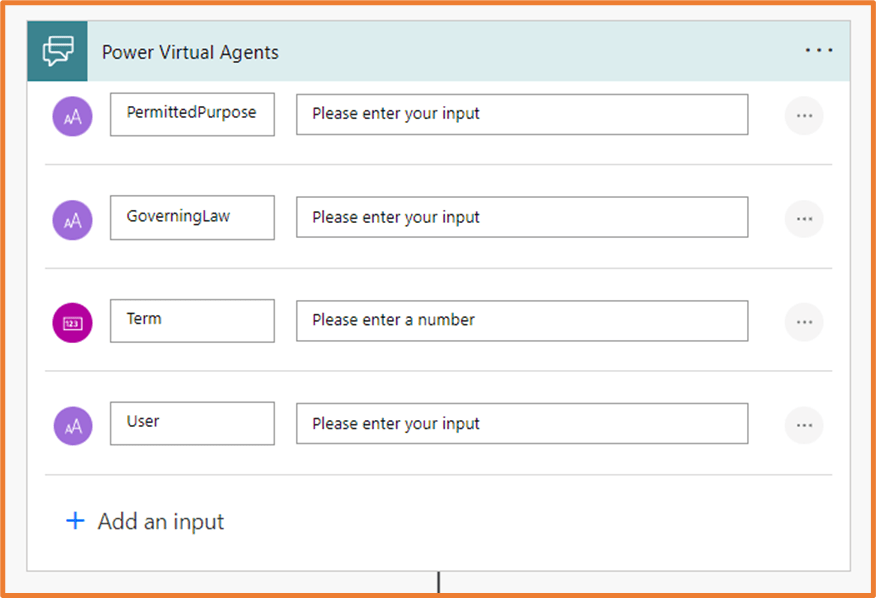
In the Power Virtual Agents trigger, list the inputs from your bot conversation. These would correspond to the questions you asked. I’ve used the Text input for most of them except for Term, since I am expecting a number value back from the user.
Insert the Word Online step, Populate a Microsoft Word template. Your location, document library and file would direct you to where the file is located. Since mine was in the Microsoft Team called Legal Team, I’ve made the selections below. Once it is pointing to the Word template, the action will show you the controls from your template. Here, use the dynamic content from the PVA trigger to insert it in the right place.

The next step is optional. I’ve inserted the step Current time, just so I can have a unique value used for the name of the document being created. If the file name isn’t unique, you will get an error when your flow runs. This is the Date Time connector- Current time.

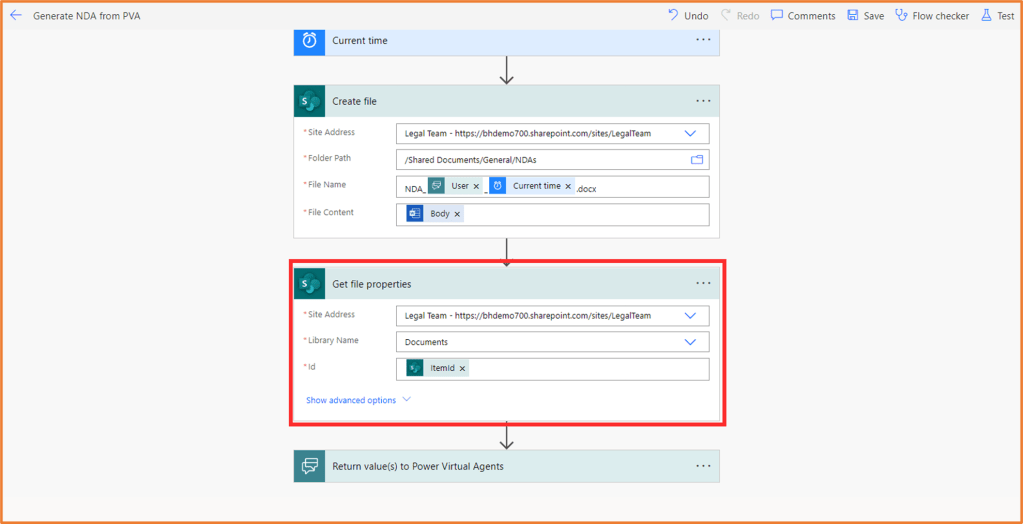
Add in the SharePoint action, Create a file. This is where you are specifying the location for the newly created document to be stored. You will also enter in a name for the document. Use the dropdown arrow and folder button to specify the location. For my file name, I have used dynamic content from the User’s name (from PVA) and the current time. Make sure to type in .docx at the end of your file name. For File Content, insert the dynamic content Body from the Word online step.

At this point, the actions to create the file are complete. The next SharePoint action shown- Get file properties, is used in order to send a link to the file back to the user in PVA. To get a link to the file, point the Site Address and Library Name to the location your new document is stored. Id should be the dynamic content from the previous SharePoint action- ItemId.
Finally, in your Return value (s) to Power Virtual Agents, name an output Link to file. Insert the dynamic content Link to item from the SharePoint action. Save your flow and return to your topic in PVA.

4. Link your flow to your PVA topic
Back in your PVA topic, add in the call an action node, and select the flow you have just built. You will need to go through and match up the inputs from your flow to the variables in your conversation.

Add in a message node and insert the LinktoFile variable.

5. Save and test
You are now done, and can test out your topic. Using the Test bot pane, talk to your bot. You can click on the link to the file provided by the bot to see your generated document.


If you can’t see the file listed in Microsoft Teams, you may need to click on Reload tab for the files area.


One thought on “Document generation with Power Virtual Agents: talk to the bot > fill a Word doc template > save the file in SharePoint”