
If you have just discovered Power Automate, knowing where to start can be difficult. Power Automate is a no-code tool from Microsoft that allows you to work smarter by automating your repetitive tasks. You likely already have Power Automate included in your work Office license. Just head over to www.flow.microsoft.com and sign in with your work credentials to see if you have access.
My tip for beginners is to start in the Templates area. You can get some inspiration for tasks that you can automate, and also take a look at the template to learn how to build flows.

Before you begin, you may want to sign up for Power Apps Developer Plan, so you can use it for your personal flows and exploring. See here to see how: Signing up for a Power Platform Developer Plan – Rishona Elijah (rishonapowerplatform.com)
Microsoft Forms & Teams: Notify the team when a new response is submitted
With this template, you can instantly notify yourself when someone submits a response to a Microsoft Form. It’s a good way to track survey results as soon as they come it, and a simple flow to get started with.

Search for Notify the team when a new response is submitted in the Templates area of Power Automate. When you open it, you will need to confirm the 2 connections for Microsoft Teams and Microsoft Forms. All you’ll need to do in the flow to get it working is specify the form and where the Teams notification will be sent.
In the trigger When a new response is submitted, select the Form you would like to connect to.
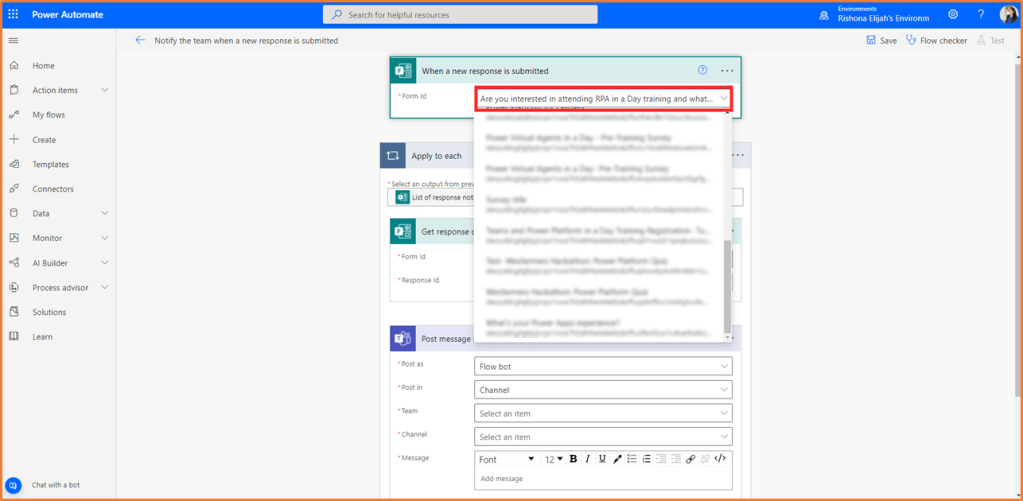
Get response details is the next action for the flow. It is contained in an Apply to Each control so that each time a response is submitted, a Teams message will be posted. Select the same form as the the Form ID.

The last step is to set up how the Teams message will work. I recommend posting it in the Chat with Flow bot, so that it will only be sent to yourself. You could also decide to post it as a message in a Teams Channel. Try with the details below:
Post as: Flow bot
Post in: Chat with Flow bot
Recipient: Your user’s email
You can use dynamic content in the message so that you can see the form results that were submitted. When you click into the message box, you should see a button that looks like this. Note, your dynamic content might appear different to as I’ve shown below, and will appear as a pop-out on the right side of the action instead. It is the same, just a different look.

You can format the message as you wish, then add in dynamic content from the form to view the response details.

The flow is now ready to use. Click Save in the top right, then Test. Choose to test manually, then go and submit a response to your form to test it out.

