
With a free trial of Microsoft 365 you can use the Power Platform and Microsoft 365 tools without interfering with your normal work account. When you sign up for a trial, you a creating an organisation tenant of your own, which makes it useful for things such as:
- Creating demos: Create a new organisation of your own to set up as you please.
- Training/practice: You can test out the Power Platform, Dynamics 365, and Office 365 tools without worrying about breaking anything in your normal work account. You will also have admin access to this tenant, so you wont run into any permission issues, making it ideal for following along with any training you may be doing.

How to sign up for a trial
There are different subscription tiers you can sign up for. Here, we will sign up for Office 365 E3.
- Create the tenant
- Add an address in the admin center
- Assign Power Apps licenses
- Create a Power Apps trial environment
1. Create the tenant
Go to https://www.microsoft.com/en-au/microsoft-365/enterprise/office-365-e3 . You may need to do this in an InPrivate/Incognito browser window to avoid being signed in with your usual work email address.
Click on Free trial.

Enter in your email address. You can use a personal or work email address. Click Next.

Click Create a new account instead.
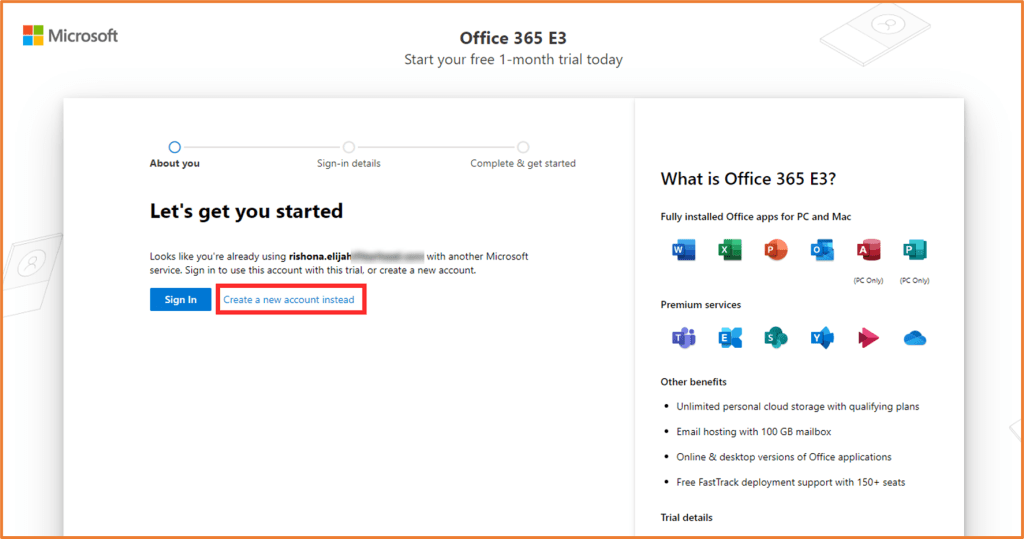
Enter in your details. The Company name will be the name of the new organisation tenant you are about to create by signing up for this trial. This can be anything you like. Click Next.

Enter in your phone number (if not already automatically populated), then proceed with the verification.

You will need to create details for your admin user account. This is the email address you will use to sign into the trial tenant you are creating. First pick a username, such as “admin” or your name. Then, pick a domain name. You could use the organisation name you set in the previous step here, or make it anything you like. Enter in a password, and keep it handy. Click Next.

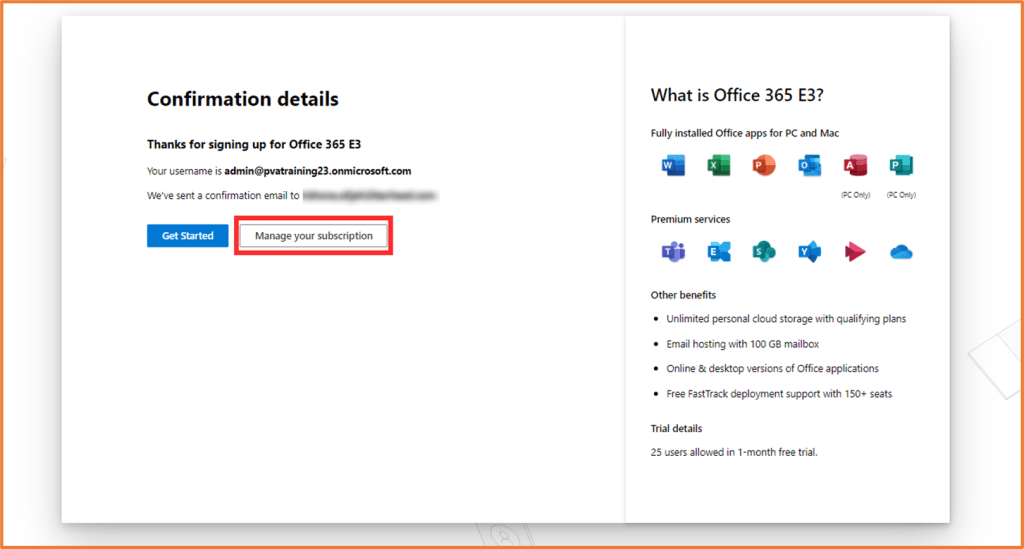
You’ve signed up for a trial tenant! The next step will involve going to the Microsoft 365 Admin Center.
2. Add an address in the Admin Center
Keep these login details handy (write the usename and password down somewhere). Click on Manage your subscription.
This will take you to the admin center, https://admin.microsoft.com/
From the Admin Center, you can assign various licenses to use, as well as create other users in your tenant. At this point, you already have an Office 365 E3 trial, which gives you access to the Office apps, including Microsoft Teams. You can view these apps going to https://www.office.com/ (no need to do this right now). However, if you want to use other tools such as Power Platform, Power BI, or Dynamics 365, you will need to assign a license for it.
Before you can “purchase” any services, you need to enter in an address for your organisation.
From the Admin Center, go to Billing > Billing accounts from the left navigation menu. Click Edit from the Sold to address area.

Complete the required address fields by entering in your address, then click Save.

3. Assign Power Apps licenses
Let’s assign a Power Apps license. With this, you will be able create an environment were you can build Power Apps, flows or Power Virtual Agents. This environment will be created later on.
From the Admin Center, expand Billing from the left navigation menu and click on Purchase services. Type in Power Apps in the search shown, then scroll down until you see Power Apps per user plan. Click on Details.

Select Start free trial.

Click Try now.
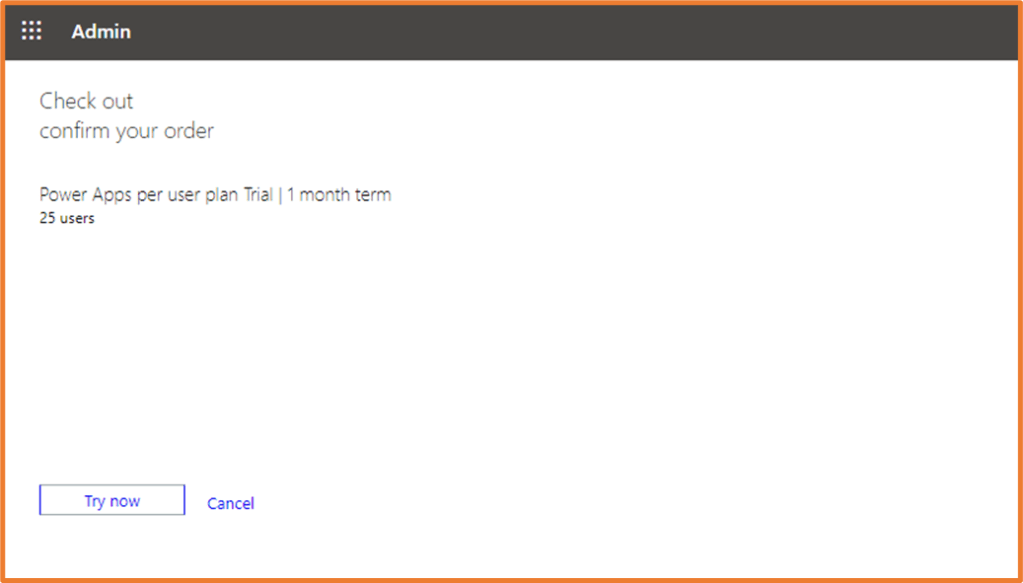
Click Continue.

A Power Apps license will now be available for you to assign to yourself and other users in your tenant. Keep in mind that there are a maximum of 25 users you can assign licenses to in this trial tenant, including your admin account.
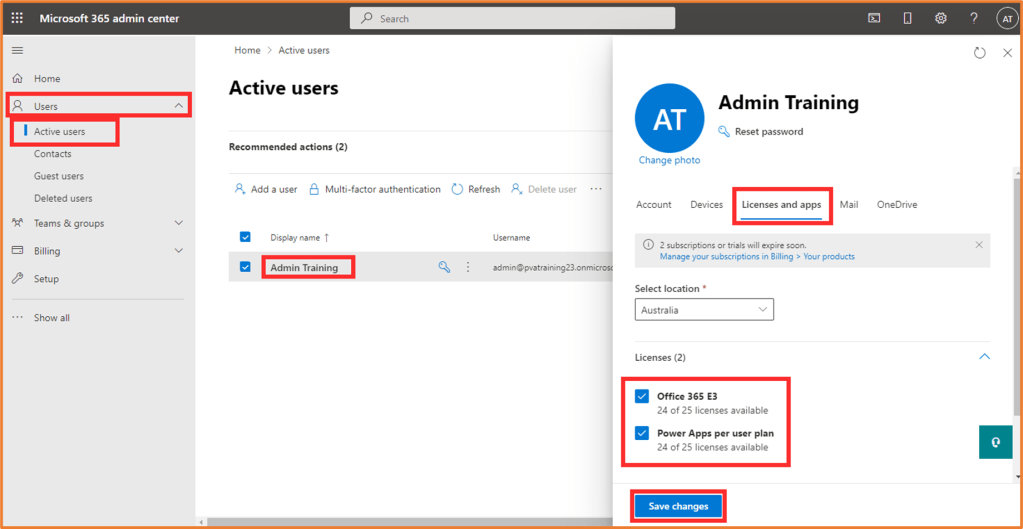
From the left navigation menu, go to Users > Active users. Click on your user from the list, then click on the Licenses and apps tab. Tick the Power Apps license, then Save changes.
4. Create a Power Apps trial environment
To build Power Apps, Power Automate flows or Power Virtual Agents in your trial, you need to create a new environment which can be used across these tools.
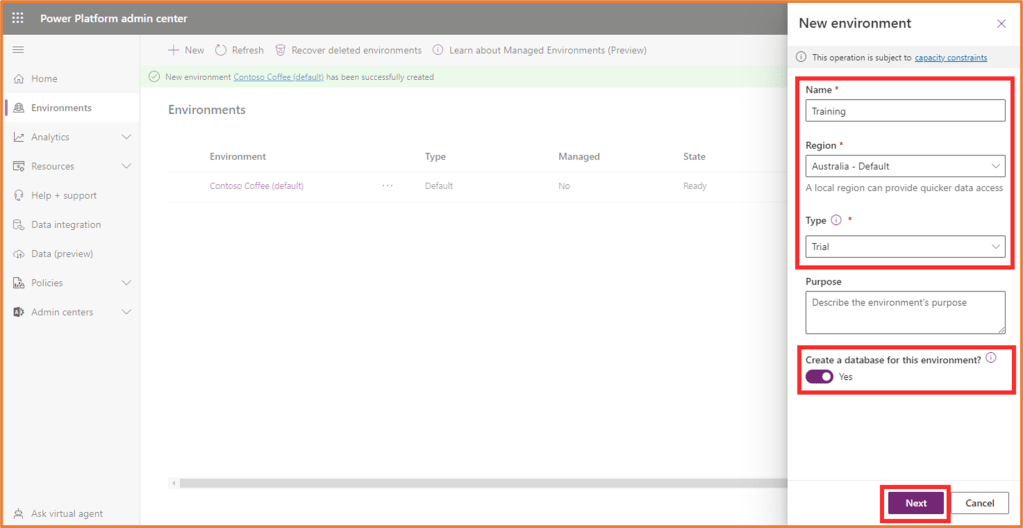
Go to Power Platform Admin Center: https://admin.powerplatform.microsoft.com/. Click on Environments from the left navigation menu. Click New.

Enter in a Name for your environment. This can be anything you like. Select your region. Set the Type to Trial, and toggle Yes to create a database. Click Save.
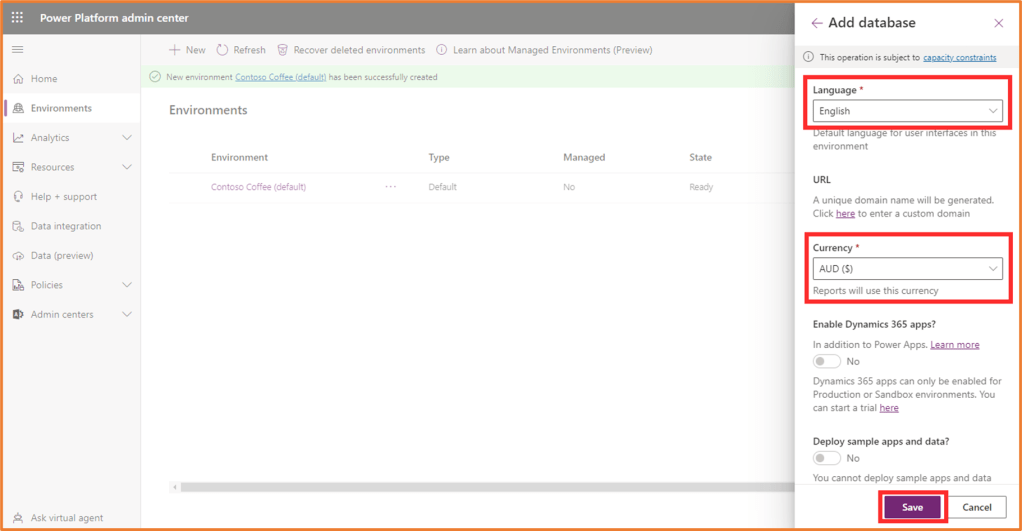
Ensure your right language and currency are selected, then click Save.
You will see the green bar at the top of the screen telling you that the environment is being prepared. This can take couple of minutes. After a few minutes, refresh the page, and you will get message saying that your environment is ready.

You are now ready! Use your environment in Power Apps, Power Automate or Power Virtual Agents.

Power Apps developer plan or Microsoft 365 trial?
You may be using the Power Apps developer plan already to access the premium Power Platform features. The developer plan is associated with your work account and gives you a personal environment to create apps, Dataverse tables, flows for bots. This is ideal to use for trying out the premium Power Platform features and practice building. However, signing up for a Microsoft 365 trial gives you a fresh new organisation/tenant to use. The developer plan gives you a Power Platform environment, but the trial gives you Office 365 tools too (such as SharePoint, Microsoft Teams, and anything included in the subscription).
For example, if you build a Power Automate flow in your developer plan to post things to Teams, the posts will be sent to your actual work/live Teams for everyone to see. Whereas if you use the trial instead, only users you’ve created in your fake organisation will see the post.
Your free trial lasts 30 days, but it is possible to extend it another month if you provide credit card details.

Great tutorial! Thank you for posting these.
Can you please help me as I’m facing difficulties when following your instructions? I used the link, then chose free trial and then instead of “Complete & get started” as the last step I have “Payment info and finish”.
Maybe I’m doing something wrong?
They recently changed it, so now you need to put in payment info before it lets you sign up unfortunately. It wont charge you until the trial expires. Once you sign up and go into the Admin Center, you can turn off recurring billing so you don’t need to worry about accidently being charged. Go to https://admin.microsoft.com/Adminportal/Home?#/subscriptions with the account you just created, click on the Office 365 E3 Trial and you should see the option to turn off recurring billing.
I’ll need to update this article!